STEP8 File Upload
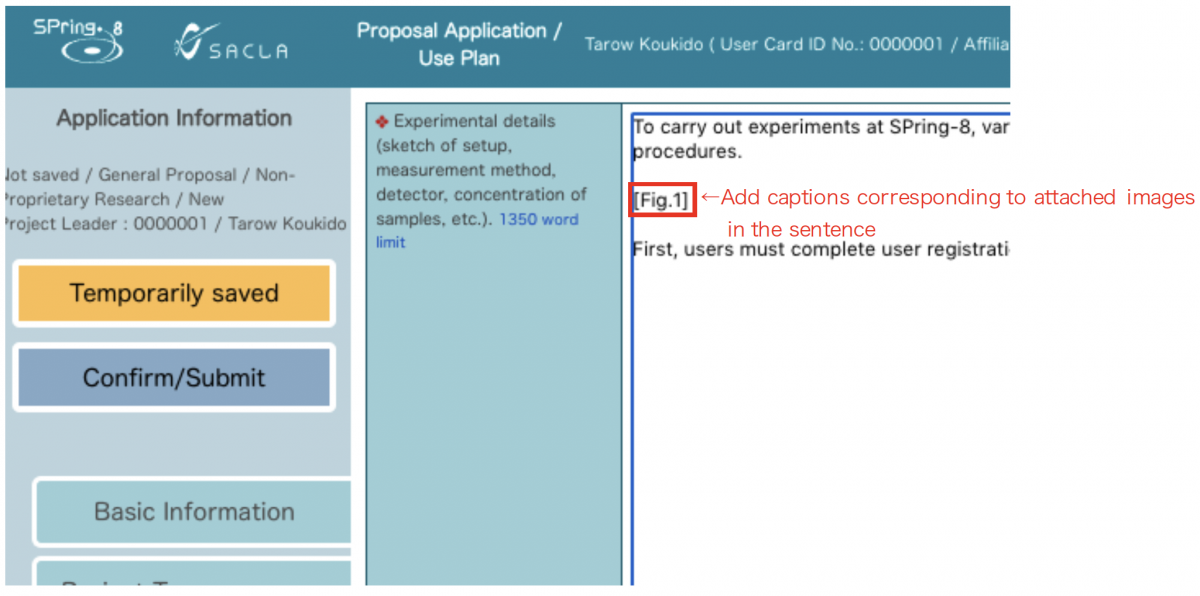
To provide details of the proposal, you can upload up to three image/table files. Since you cannot insert the images in the free-text fields, be sure to provide captions for the images (e.g., Figs. 1–3) where they should be placed.
Click “Attachments” from “Menu” > “Move to” to go to the file upload page.
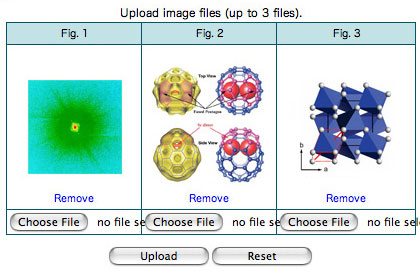
To select the image(s) that you want to upload, click “Choose File” in the fields of Figs. 1–3. Note that the only acceptable file formats are JPEG (.jpg/.jpeg), GIF (.gif), and PNG (.png) and that each image should have a file size of no larger than 1 MB.
You cannot upload image files without a file extension. Do not upload unsupported files by merely adding a file extension (e.g., .jpg). When the image is chosen, the file name will be displayed. Confirm the file name and click on the “Upload” button.

After your images have been successfully uploaded, thumbnails of the images are created.
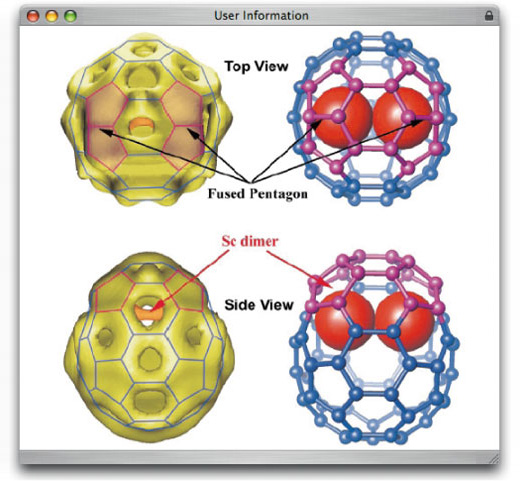
To see the full-size version of an image in a new window, click the thumbnail.
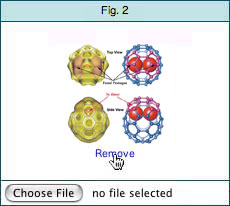
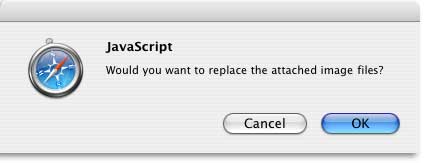
To replace an already uploaded image, click “Choose File,” choose another image, and click on the “Upload” button. Then, the following confirmation message will appear. Click the “OK” button to replace the image.
To delete the image, click on the “Remove” button.